1. 스프링부트 h2console 관련 설명

스프링부트 1.3.0 부터 h2console 기능을 제공한다.

개발자 개인개발환경(로컬local)에서 개발할 때 h2database를 Database로 사용하면 개발이 매우 용이해진다. 그리고 h2database에서는 데이터베이스에 에 접근할 수 있는 클라이언트를 제공하는데 그게 바로 h2console 이다.

이전버전에서 h2console을 사용하기 위해서는 다음과 같은 형태로 ServletRegistrationBean 으로 h2에서 제공하는 WebServlet을 서블릿빈으로 등록한다.

@Bean
public ServletRegistrationBean h2servletRegistration() {
    ServletRegistrationBean registration = new ServletRegistrationBean(new WebServlet());
    registration.addUrlMappings("/h2console/*");
    return registration;
}

스프링부트 1.3.0 부터는 @WebServlet, @WebFilter @WebListener 애노테이션을 선언한 클래스들을@ServletComponentScan으로 탐색하는 기능도 제공한다.

어쨌든~~ h2console은 기본적으로 애플리케이션의 데이터에 접근하는 부분이기 때문에 보안과 관련되어 있다. 그래서 스프링부트 1.3.0에 추가된 H2ConsoleAutoConfiguration 에서 기본보안에 대한 설정을 하는 부분도 볼 수 있다.

H2ConsoleSecurityConfiguration.java
@Configuration
@ConditionalOnWebApplication
@ConditionalOnClass(WebServlet.class)
@ConditionalOnProperty(prefix = "spring.h2.console", name = "enabled", havingValue = "true", matchIfMissing = false)
@EnableConfigurationProperties(H2ConsoleProperties.class)
@AutoConfigureAfter(SecurityAutoConfiguration.class)
public class H2ConsoleAutoConfiguration {
 
@Autowired
private H2ConsoleProperties properties;
 
@Bean
public ServletRegistrationBean h2Console() {
String path = this.properties.getPath();
String urlMapping = (path.endsWith("/") ? path + "*" : path + "/*");
return new ServletRegistrationBean(new WebServlet(), urlMapping);
}
 
@Configuration
@ConditionalOnClass(WebSecurityConfigurerAdapter.class)
@ConditionalOnBean(ObjectPostProcessor.class)
@ConditionalOnProperty(prefix = "security.basic", name = "enabled", matchIfMissing = true)
static class H2ConsoleSecurityConfiguration {
 
@Bean
public WebSecurityConfigurerAdapter h2ConsoleSecurityConfigurer() {
return new H2ConsoleSecurityConfigurer();
}
 
@Order(SecurityProperties.BASIC_AUTH_ORDER - 10)
private static class H2ConsoleSecurityConfigurer
extends WebSecurityConfigurerAdapter {
 
@Autowired
private H2ConsoleProperties console;
 
@Autowired
private SecurityProperties security;
 
@Override
public void configure(HttpSecurity http) throws Exception {
String path = this.console.getPath();
String antPattern = (path.endsWith("/") ? path + "**" : path + "/**");
HttpSecurity h2Console = http.antMatcher(antPattern);
h2Console.csrf().disable();
h2Console.httpBasic();
h2Console.headers().frameOptions().sameOrigin();
String[] roles = this.security.getUser().getRole().toArray(new String[0]);
SecurityAuthorizeMode mode = this.security.getBasic().getAuthorizeMode();
if (mode == null || mode == SecurityAuthorizeMode.ROLE) {
http.authorizeRequests().anyRequest().hasAnyRole(roles);
}
else if (mode == SecurityAuthorizeMode.AUTHENTICATED) {
http.authorizeRequests().anyRequest().authenticated();
}
}
 
}
 
}
 
}

2. h2console을 사용하기 위한 설정

h2console을 사용하는 방법은 간단하다. application.yml(혹은 application.properties) 파일에spring.h2.console.* 속성을 정의하면 된다. 여기서 정의하는 속성은

H2ConsoleProperties.java
@ConfigurationProperties(prefix = "spring.h2.console")
public class H2ConsoleProperties {
 
/**
 * Path at which the console will be available.
 */
@NotNull
@Pattern(regexp = "/[^?#]*", message = "Path must start with /")
private String path = "/h2-console";
 
/**
 * Enable the console.
 */
private boolean enabled = false;
 
public String getPath() {
return this.path;
}
 
public void setPath(String path) {
this.path = path;
}
 
public boolean getEnabled() {
return this.enabled;
}
 
public void setEnabled(boolean enabled) {
this.enabled = enabled;
}
 
}

spring.h2.console.* 가 제공하는 속성은 크게 두가지다.

# H2 Web Console (H2ConsoleProperties)
spring.h2.console.enabled=false # Enable the console.
spring.h2.console.path=/h2-console # Path at which the console will be available.

위의 속성에서 볼 수 있듯이 h2console은 기본은 비활성화 되어 있다.

spring.h2.console.enabled=true
spring.h2.console.path=/h2console

로 설정하면 h2console 사용을 위한 기본준비는 끝난다.

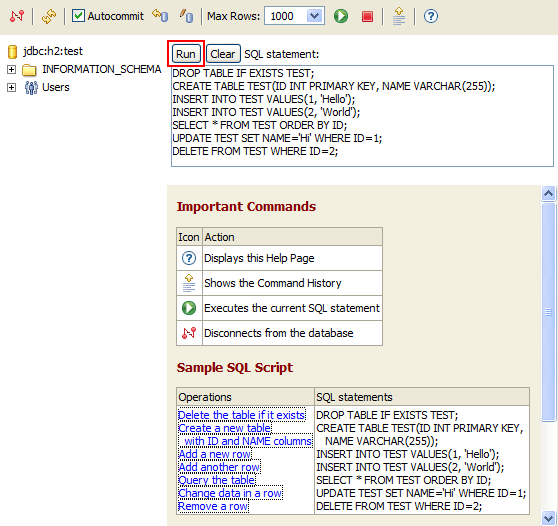
스프링부트 애플리케이션을 실행시키면 * h2console 로그인창이 뜨고 ** http://localhost:8080/h2console

h2console-loging

h2console

  • h2console 창이 뜨면 정상적으로 접근이 된 것이다.

h2console-success

h2console-success

3. h2console 로그인을 통과했는데 흰화면만 나온다면?

그런데 스프링시큐리티를 사용하고 있다면 흰화면만 나오고 화면이 뜨지 않을 수도 있다. 브라우저의 개발도구를 열어 콘솔창을 보면 다음과 같은 메시지를 볼 수 있다.

h2console-white

h2console-whitescreen

Load denied by X-Frame-Options: http://localhost:9090/h2console/header.jsp?jsessionid=62e96686014c88a9e644647c7a4bf069 does not permit framing. <알 수 없음>
Load denied by X-Frame-Options: http://localhost:9090/h2console/query.jsp?jsessionid=62e96686014c88a9e644647c7a4bf069 does not permit framing. <알 수 없음>
Load denied by X-Frame-Options: http://localhost:9090/h2console/help.jsp?jsessionid=62e96686014c88a9e644647c7a4bf069 does not permit framing. <알 수 없음>
Load denied by X-Frame-Options: http://localhost:9090/h2console/tables.do?jsessionid=62e96686014c88a9e644647c7a4bf069 does not permit framing. <알 수 없음>

스프링시큐리티에서 headers 에 있는 X-Frame-Options 옵션을 거부했기 때문에 발생한다.

그래서 스프링시큐리티 설정부분에서 아래와 같이 설정해버렸다.

@Override
    protected void configure(HttpSecurity http) throws Exception {
        http
            .authorizeRequests()
                //중략 
                .anyRequest().authenticated()
            .and()
                .headers()
                    .addHeaderWriter(new StaticHeadersWriter("X-Content-Security-Policy","script-src 'self'"))
                    .frameOptions().disable();
    }

개발하는 애플리케이션의 보안 정책에 따라서 상세하게 설정하자.

위와 같은 형태로 X-Frame-Options 옵션을 비활성화하면 h2console 화면에 접근이 가능하다.


+ Recent posts